Customize Incident Display Card – How to read Docs-Virtual Agent(Part 2)

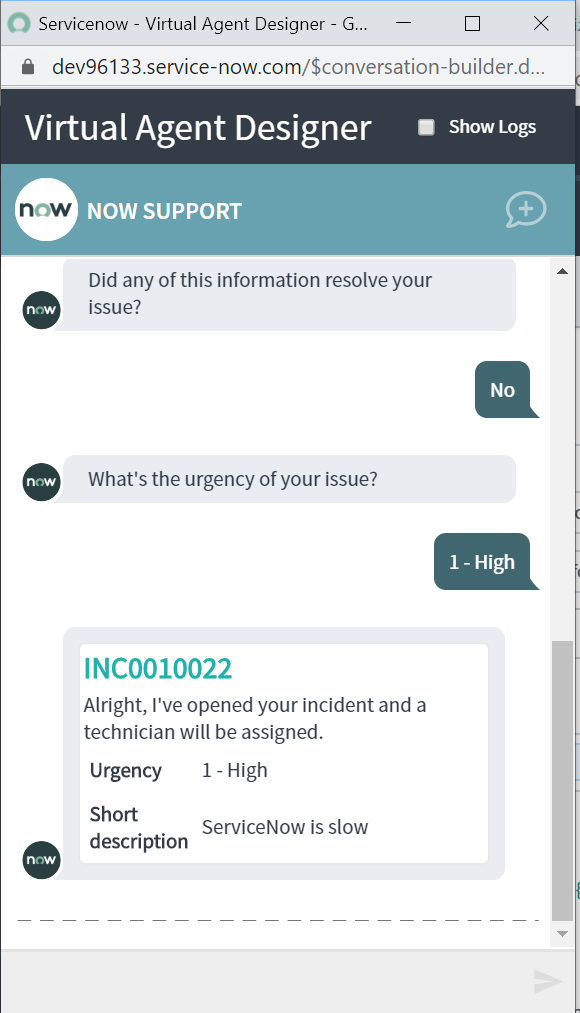
Welcome to another article on the future of ServiceNow ‘Virtual Agent’. We had a requirement to display only the inputs provided by User along with the Incident Number and they wanted a little bit classic look. So again we made use of Simple HTML to fulfill the requirement.
First, Let’s see how OOTB ‘Open IT Ticket’ topic displays an Incident card :

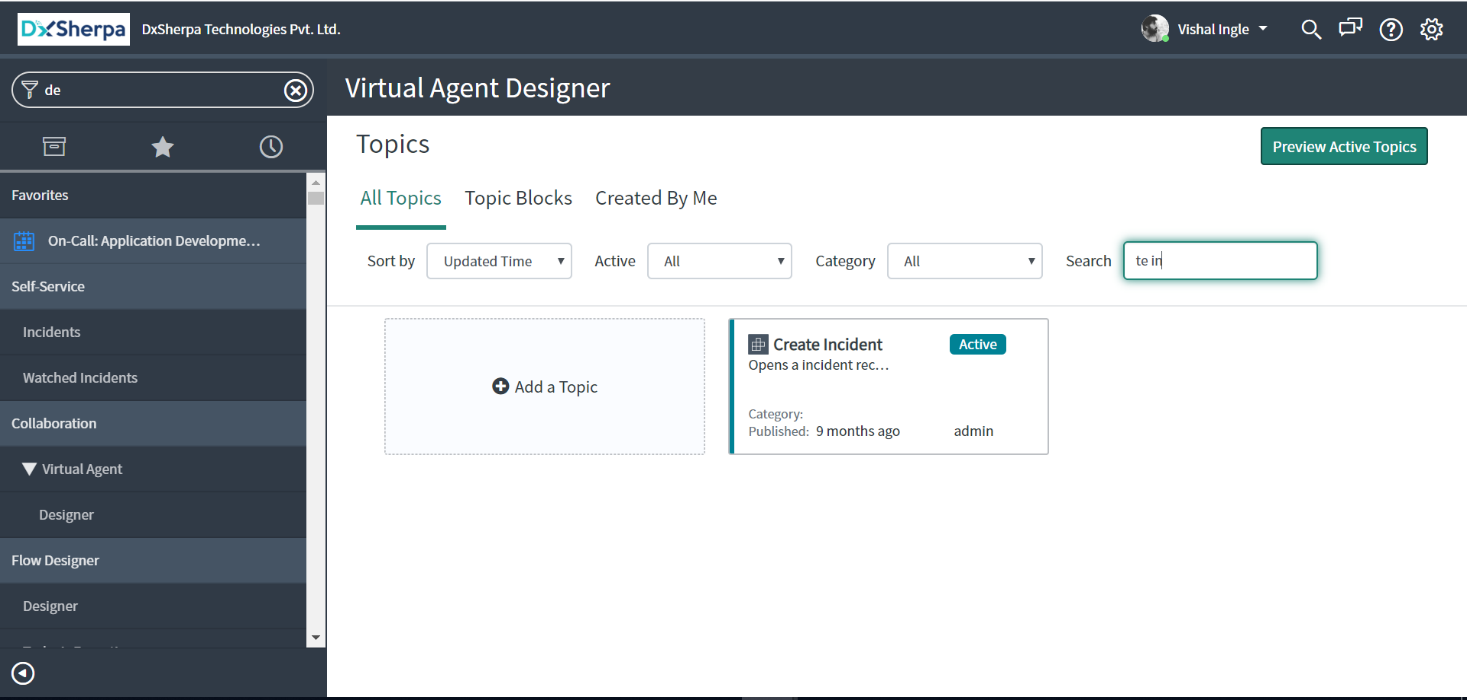
Step 1 : Navigate to Collaboration > Virtual Agent > Designer

Step 2 : Search for an OOTB topic block ‘Create Incident’ and open it.
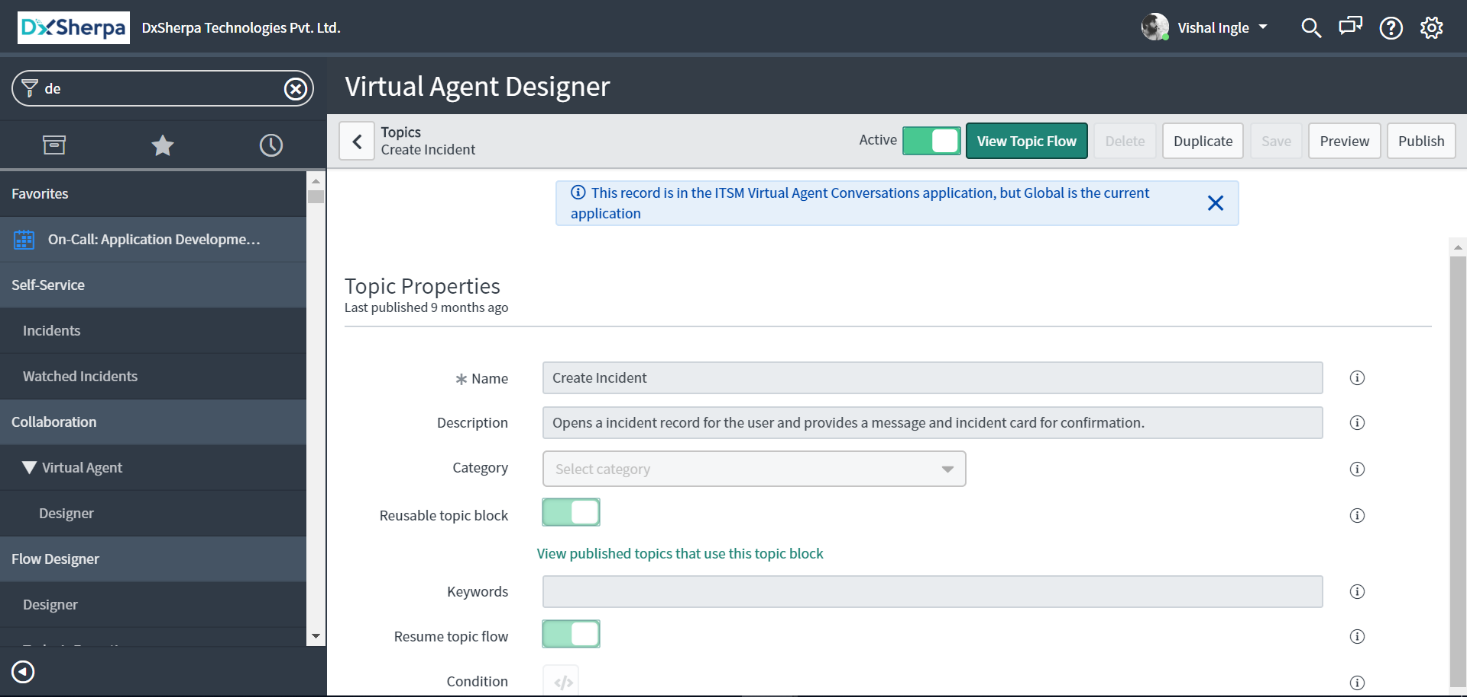
Step 3 : Click ‘Duplicate’
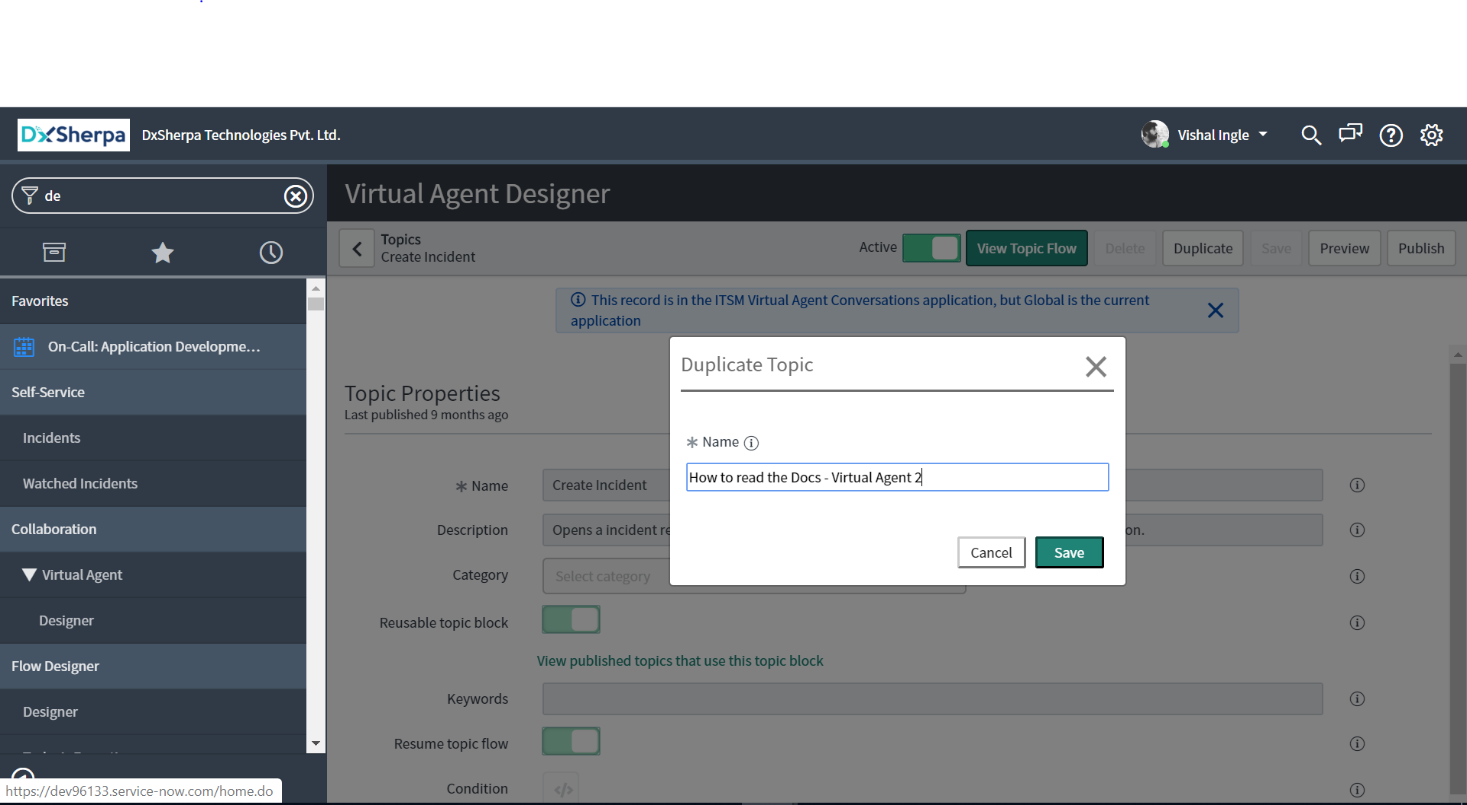
Step 4 : Give the topic a unique name and click ‘Save’
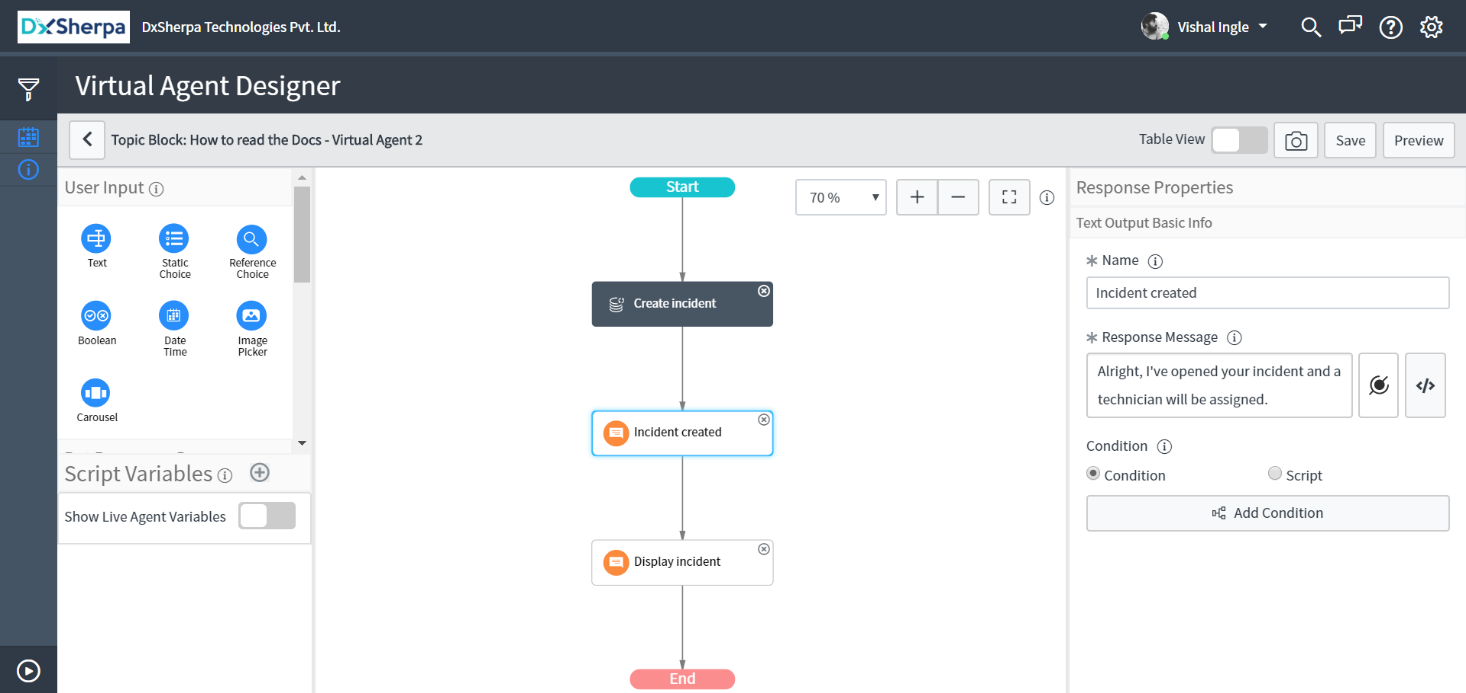
Step 5 : Click ‘Edit Topic Flow’ on the properties page of newly created topic

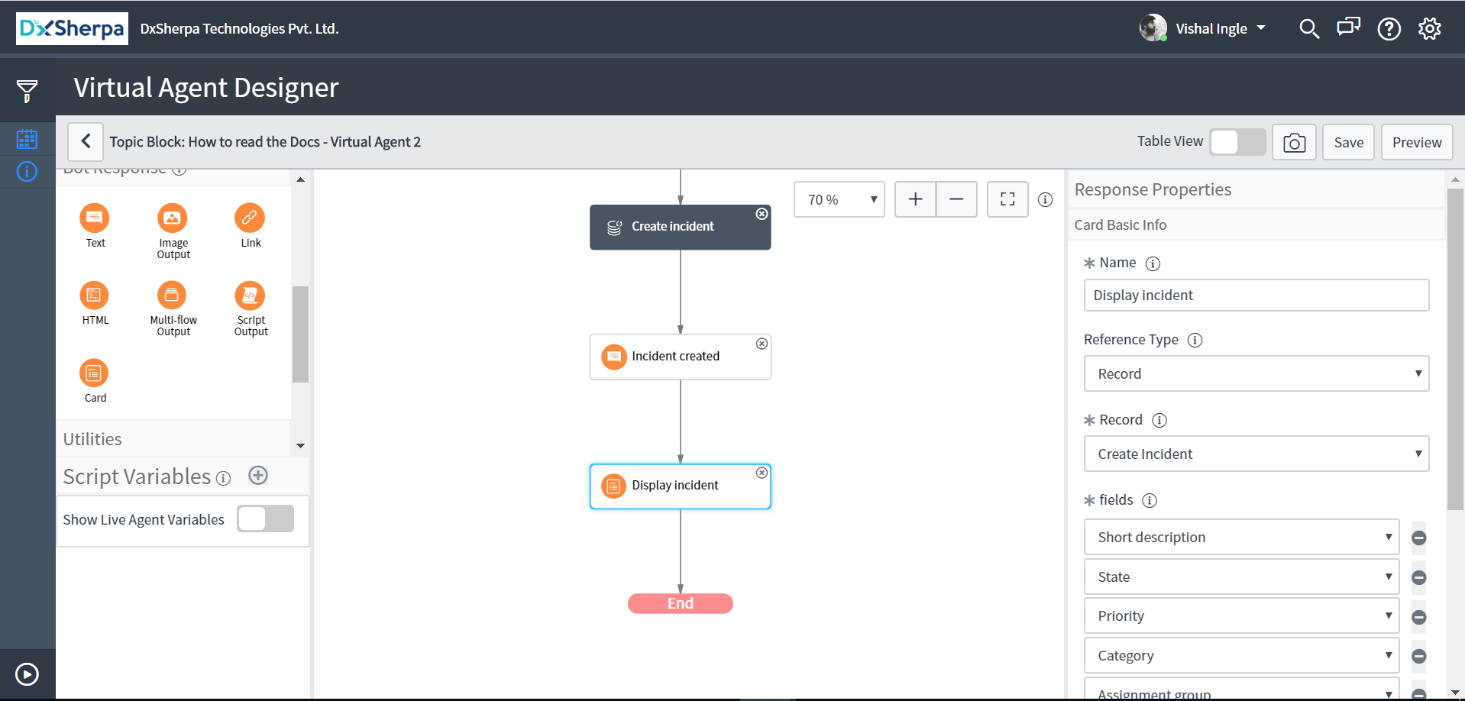
Step 6 : Locate the node ‘Display incident’ and delete it
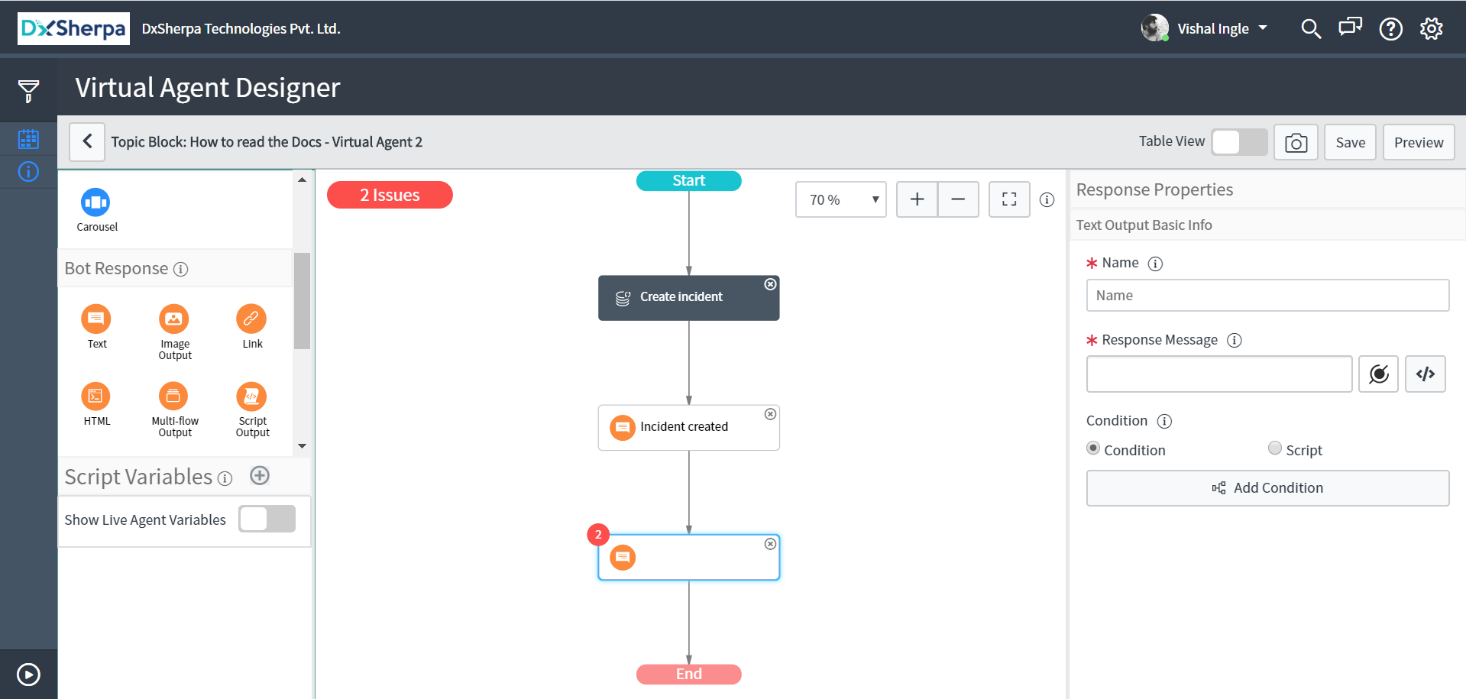
Step 7 : Add a bot response ‘Text’ between ‘Incident created’ and ‘End’ nodes
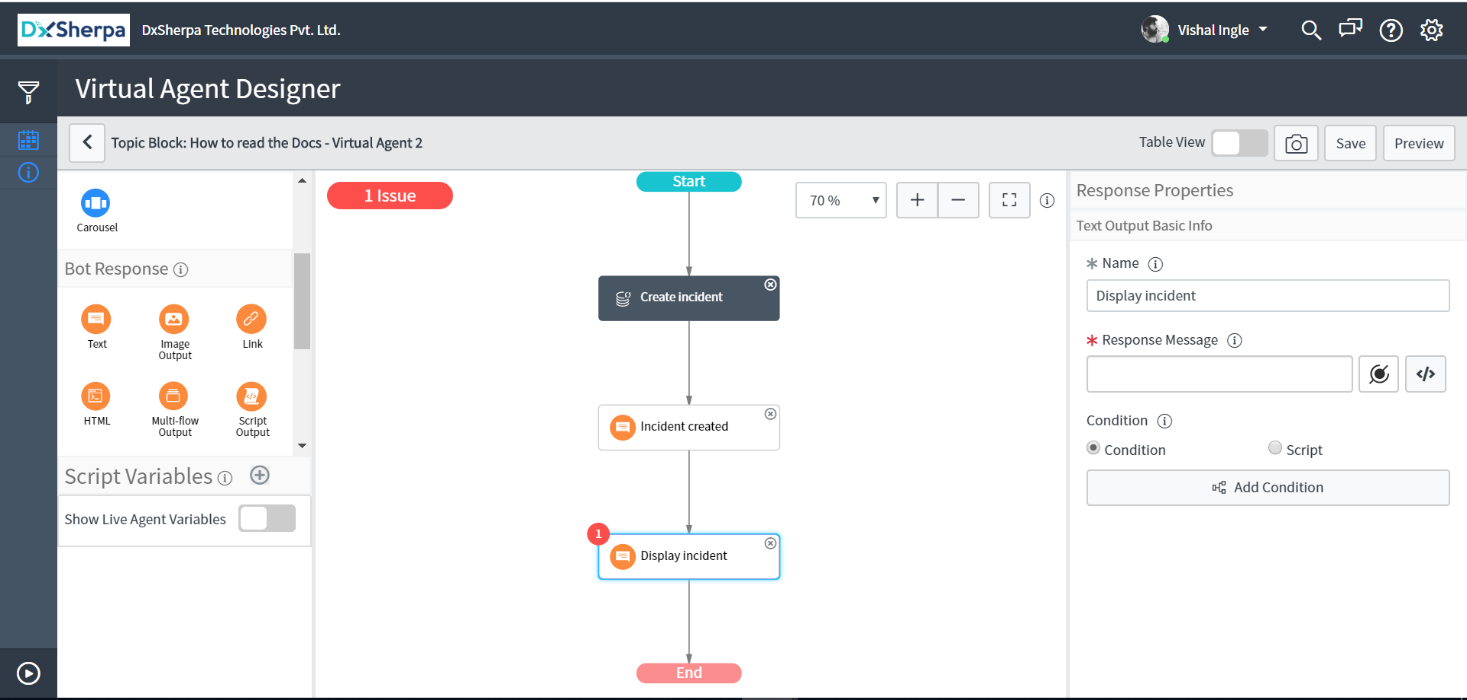
Step 8 : Give it a unique name and click the script section of ‘Response Message’
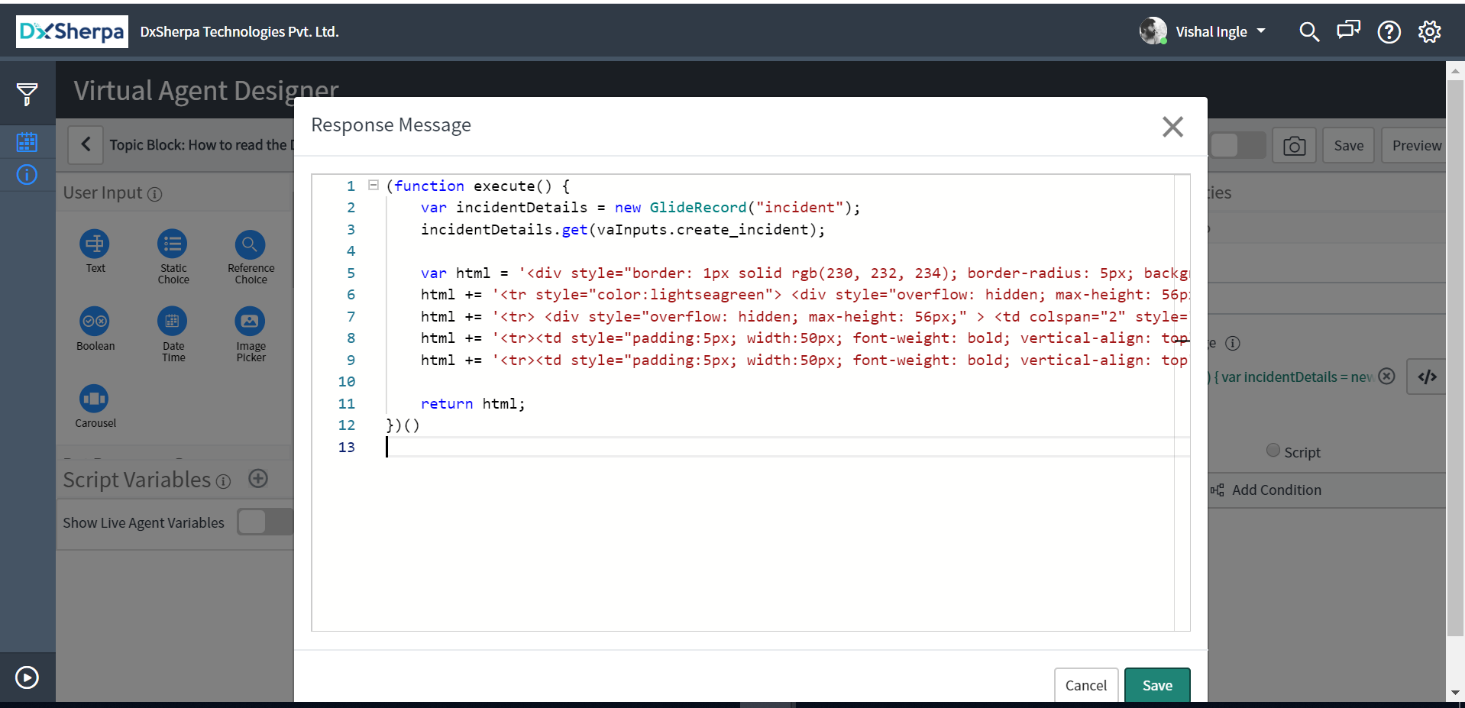
Step 9 : Replace the OOTB script with the below script and click ‘Save’
( function execute ( ) {

var incidentDetails = newGlideRecord ( " incident " );

incidentDetails.get( vaInputs.create_incident );
var html = ' < div style=" border: 1px solid rgb(230, 232, 234); border-radius: 5px; background-color: white; word-break: normal; " >< table >';
html += ‘< tr style=”color:lightseagreen” > < div style=”overflow: hidden; max-height: 56px;” > < td colspan=”2″ style=”overflow-wrap: break-word;word-break:break-word; font-size: 20px; font-weight: bold;” > ‘ + incidentDetails.number + ‘ < /td > < /tr >’;
html += ‘< tr > < div style=”overflow: hidden; max-height: 56px;” > < td colspan=”2″ style=”overflow-wrap: break-word;word-break:break-word;”>Alright, I\’ve opened your incident and a technician will be assigned.< /td > < /tr >’;
html += ‘< tr >< td style=”padding:5px; width:50px; font-weight: bold; vertical-align: top” > < div style=”overflow: hidden; max-height: 56px;” > Urgency’ + incidentDetails.getDisplayValue(‘urgency’) + ‘ < /td > < /tr >’;
html += ‘< tr >< td style=”padding:5px; width:50px; font-weight: bold; vertical-align: top” > < div style=”overflow: hidden; max-height: 56px;” > Short description < td style=”overflow-wrap: break-word;word-break:break-word;” >’ + incidentDetails.short_description + ‘< /td > </tr >< /table >< /div >’;
return html;
})()
Step 10 : Locate the ‘Incident created’ node and delete it.
Congratulation, You have created a customized Incident Display Card. Now all you need to do is add your custom topic block to the Topic.
Follow the Steps given here, to add our customized topic block to the Topic. Once you perform the steps mentioned in this link you can see the result.