Create a REST Message – Integration Part 2
Hi Developers,
This is the second article in the three part series for integrating ServiceNow with Google Calendar to schedule a meeting through Virtual Agent.
You need to follow the steps mentioned in the first article to continue with this post.
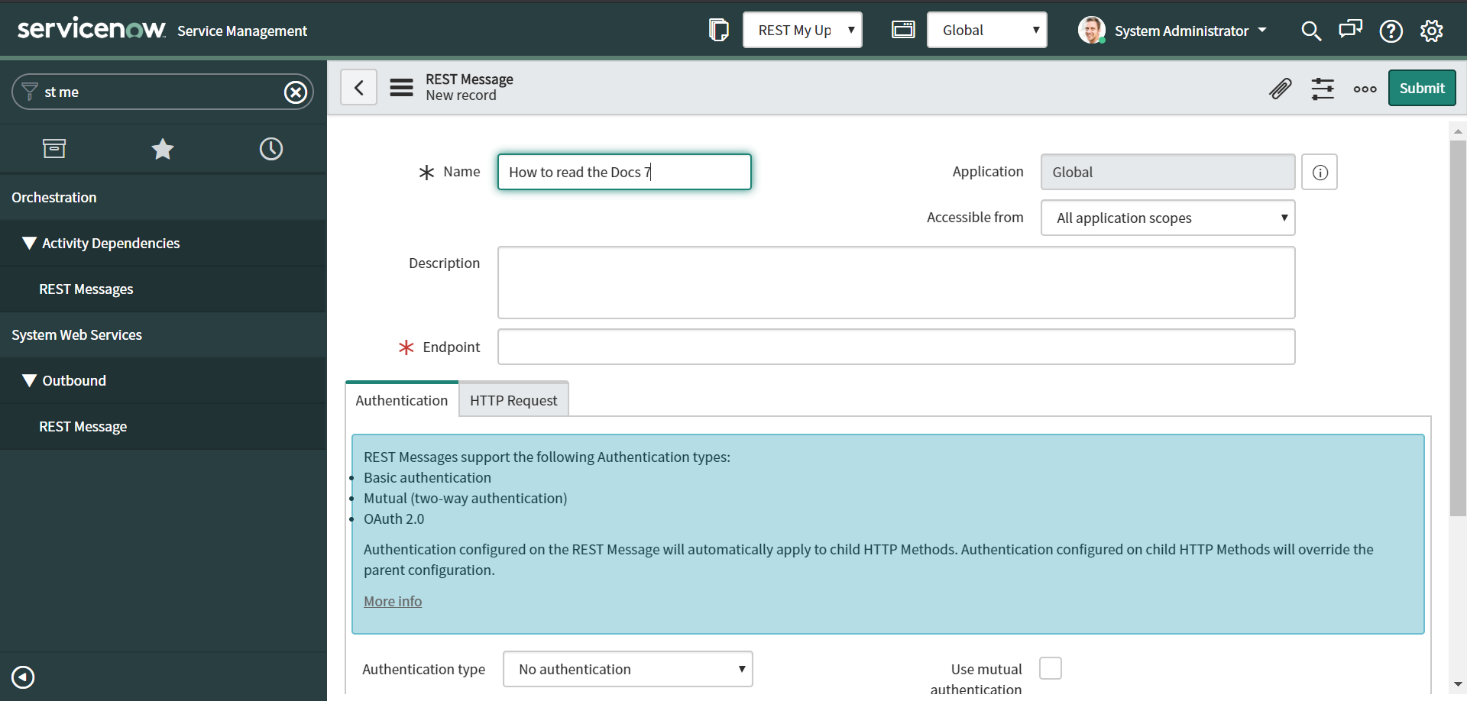
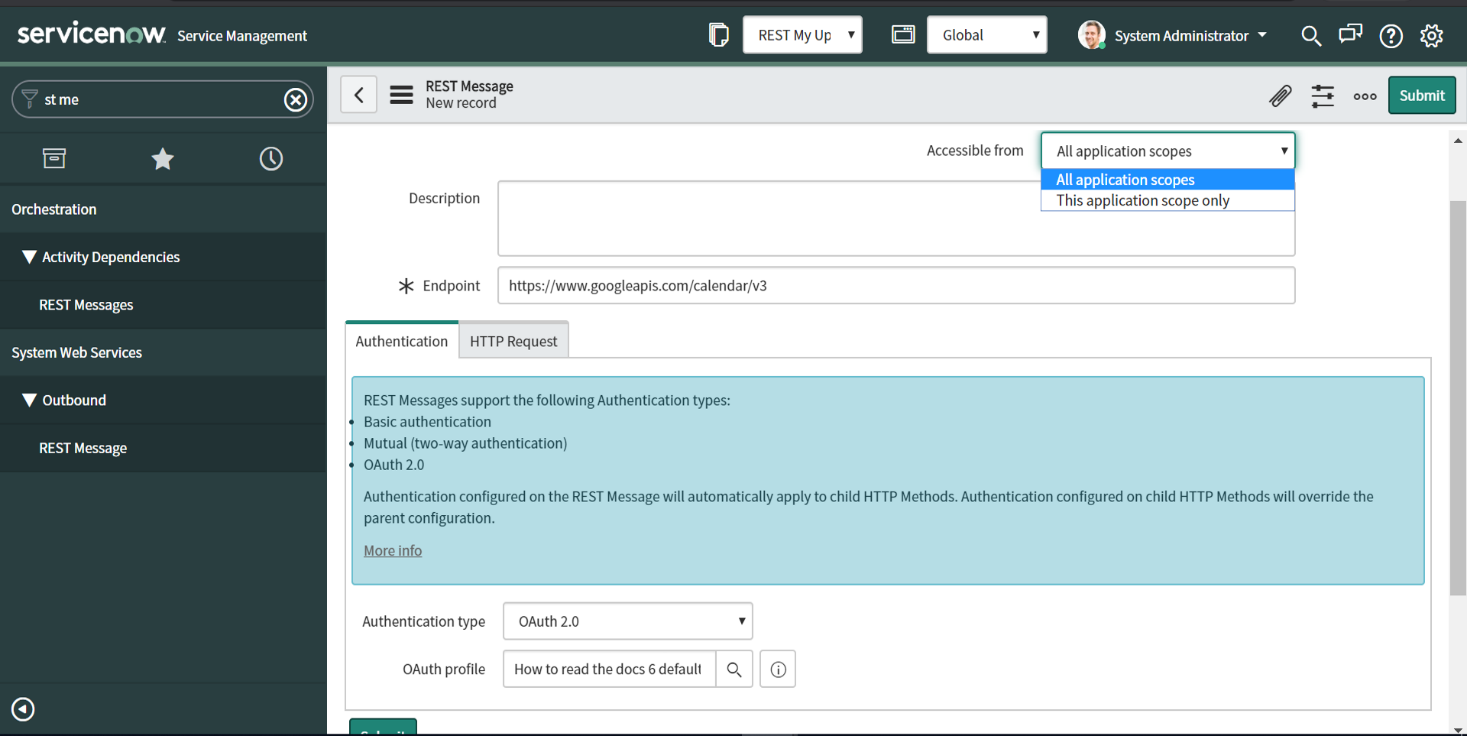
Step 1) Navigate to System Web Services > Outbound > REST Message and click ‘New’
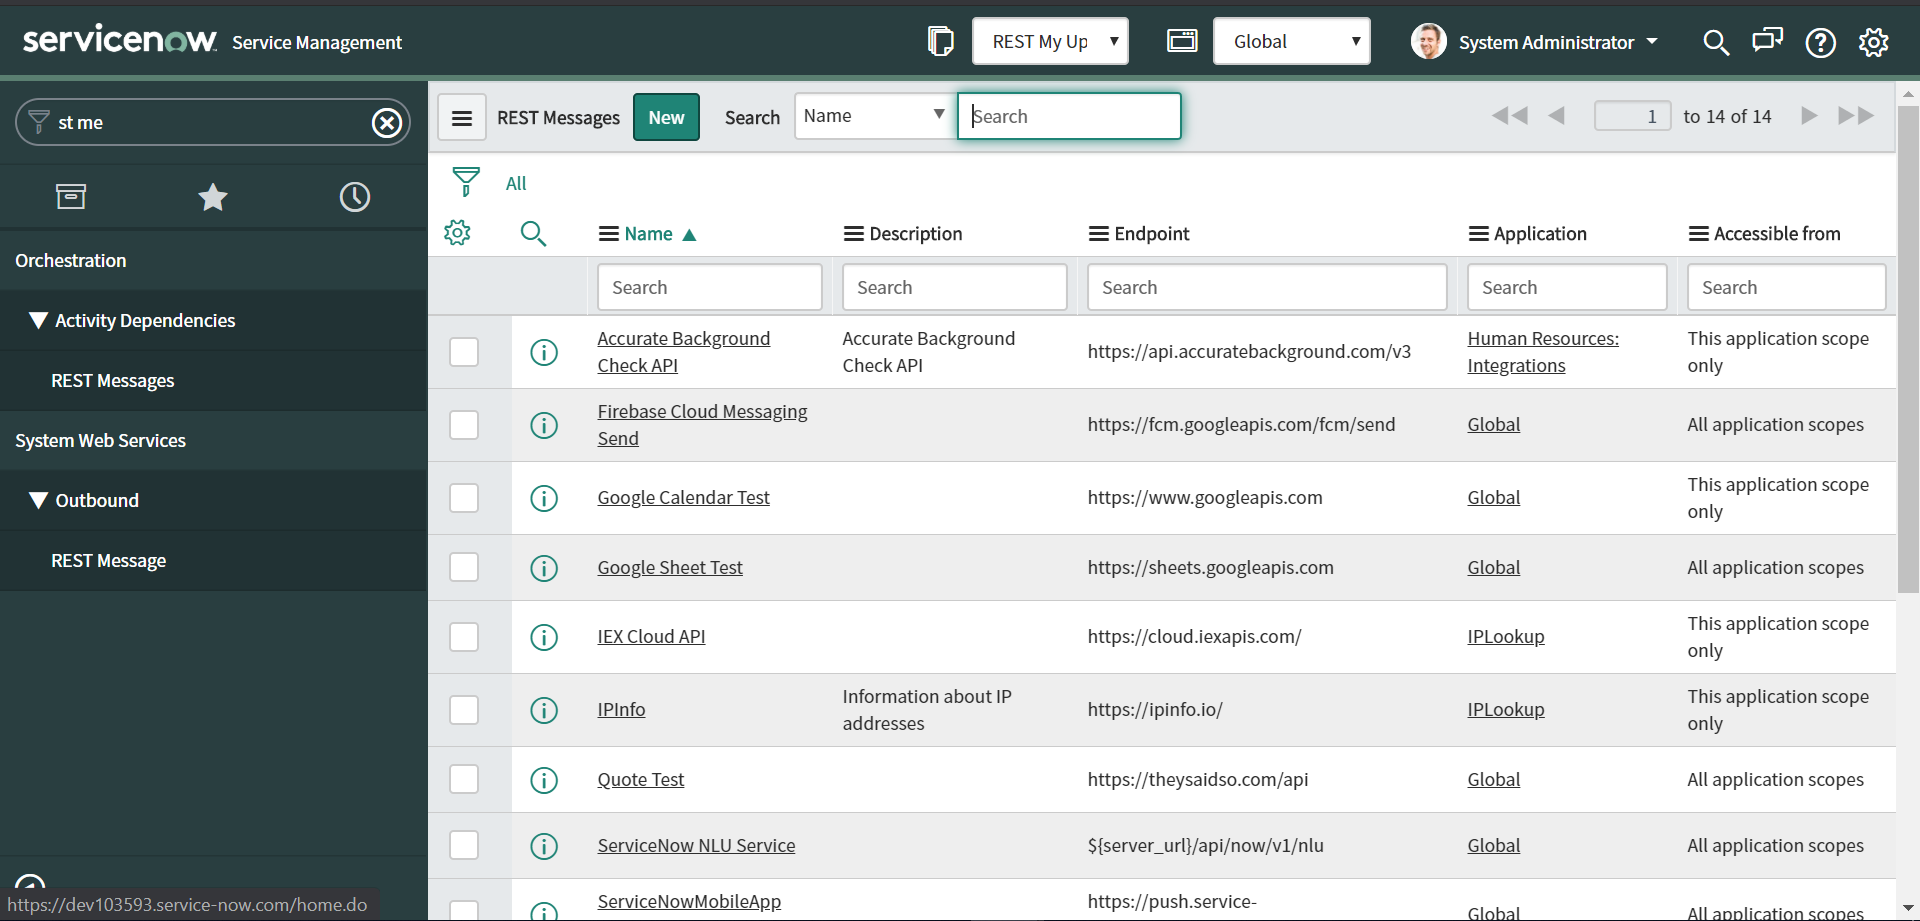
Step 2) Give it a unique name
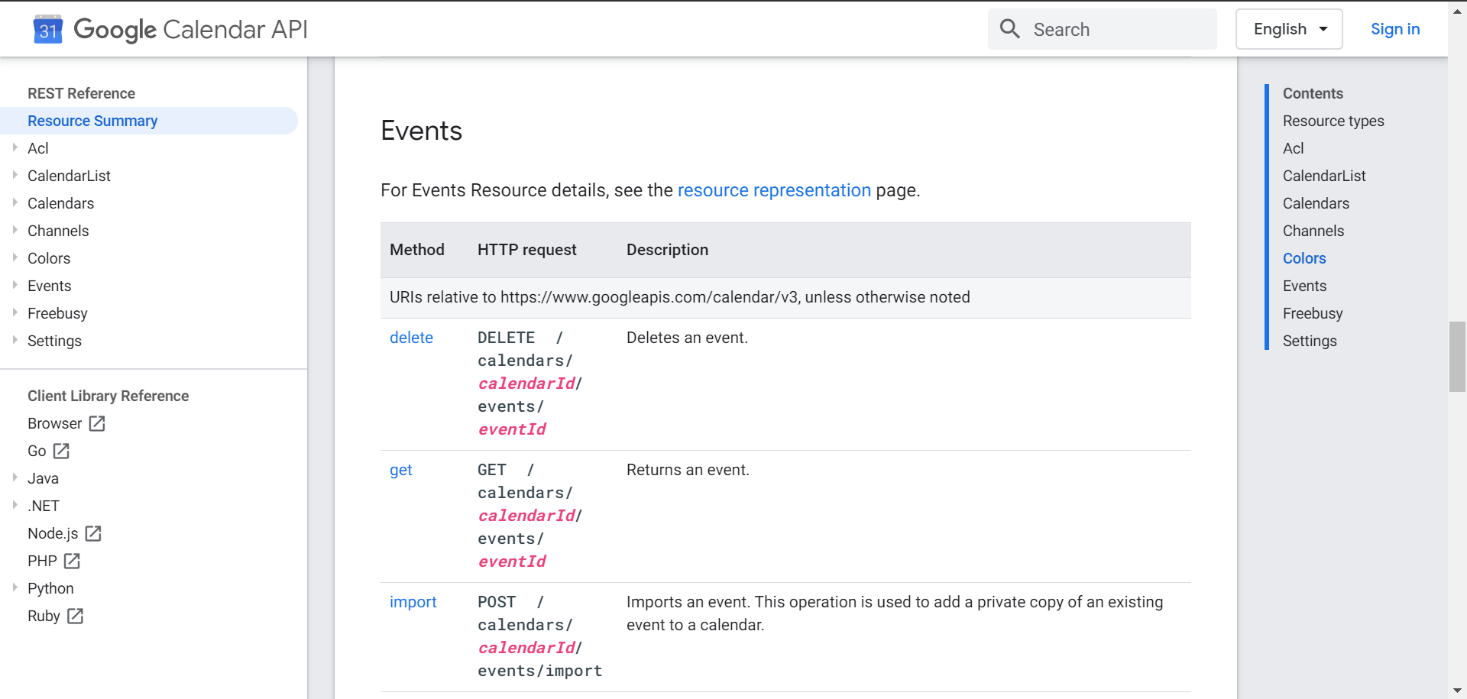
Step 3) Copy and paste the below URL in the filed ‘Endpoint’
https://www.googleapis.com/calendar/v3
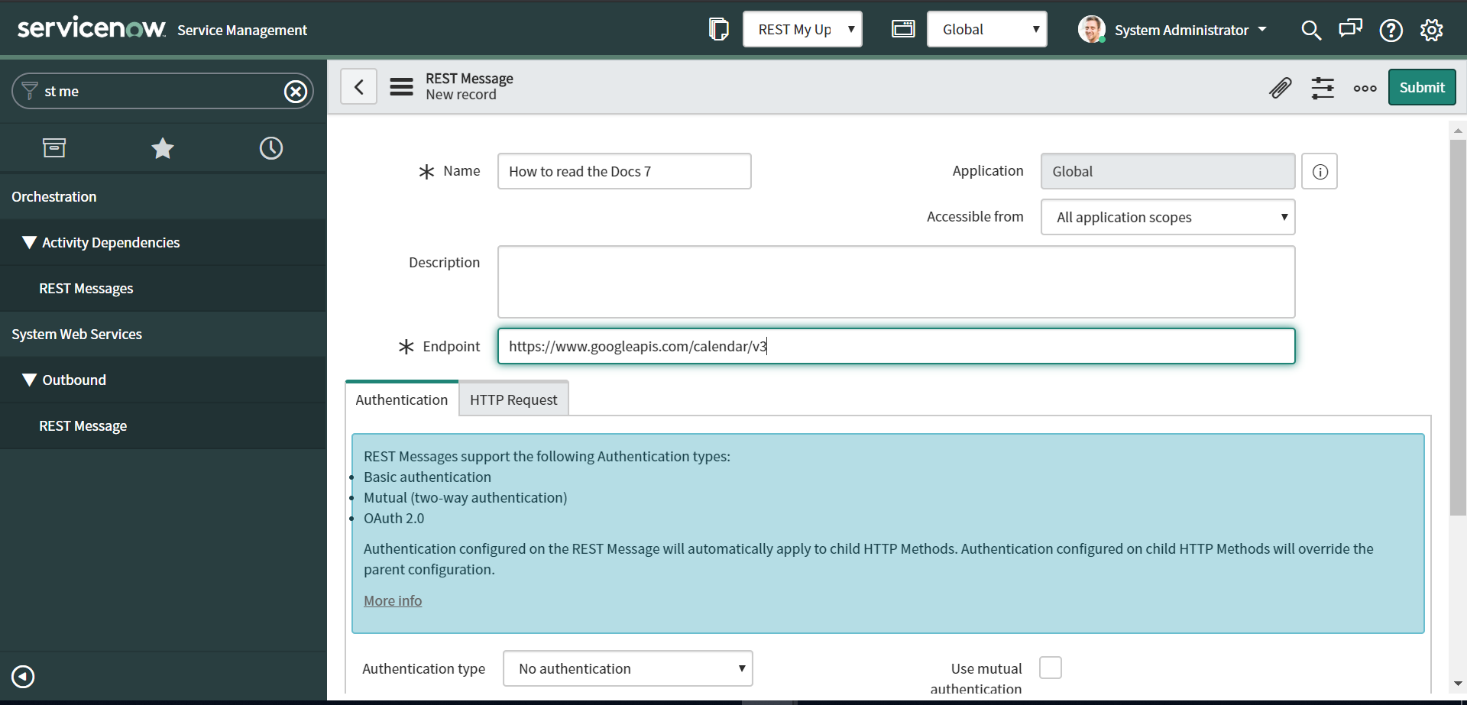
This information is available on Google Calendar API reference
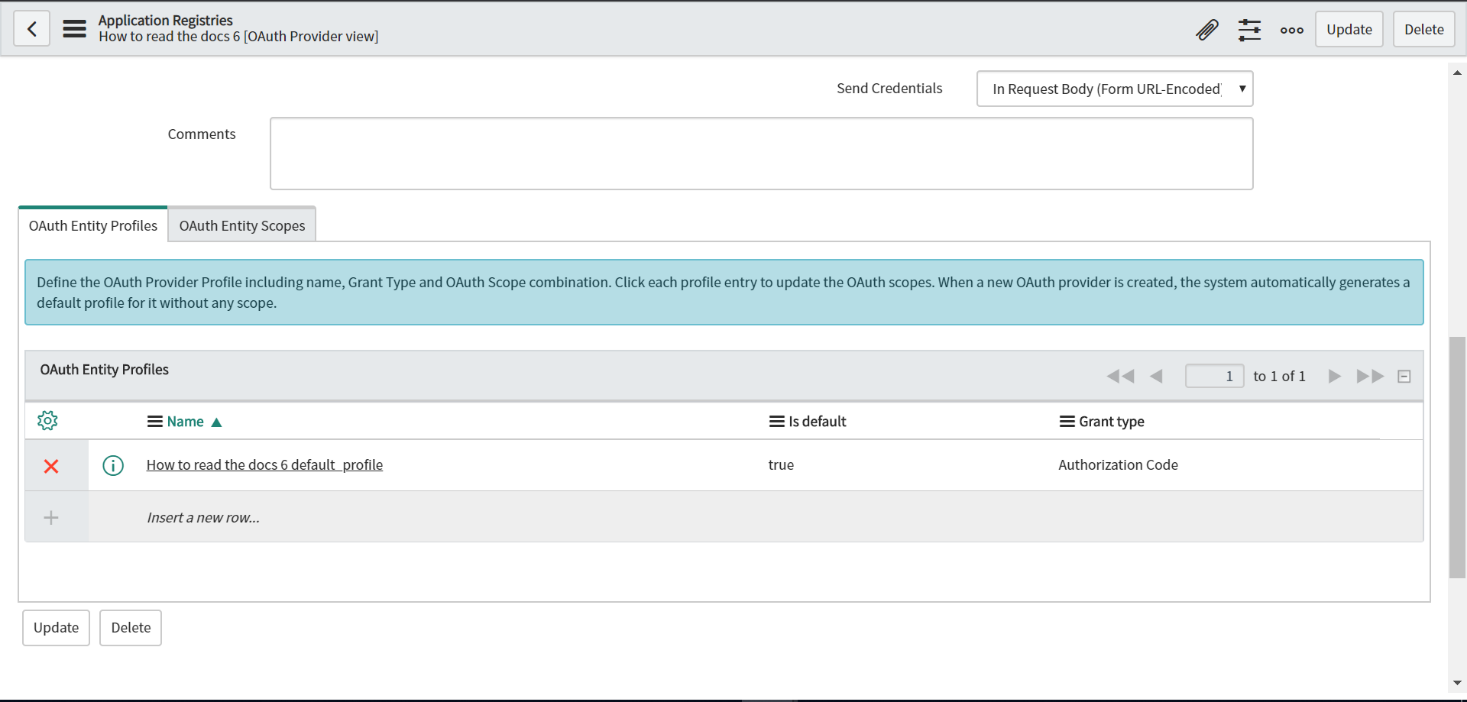
Step 4) Select the Authentication Type as ‘OAuth 2.0’
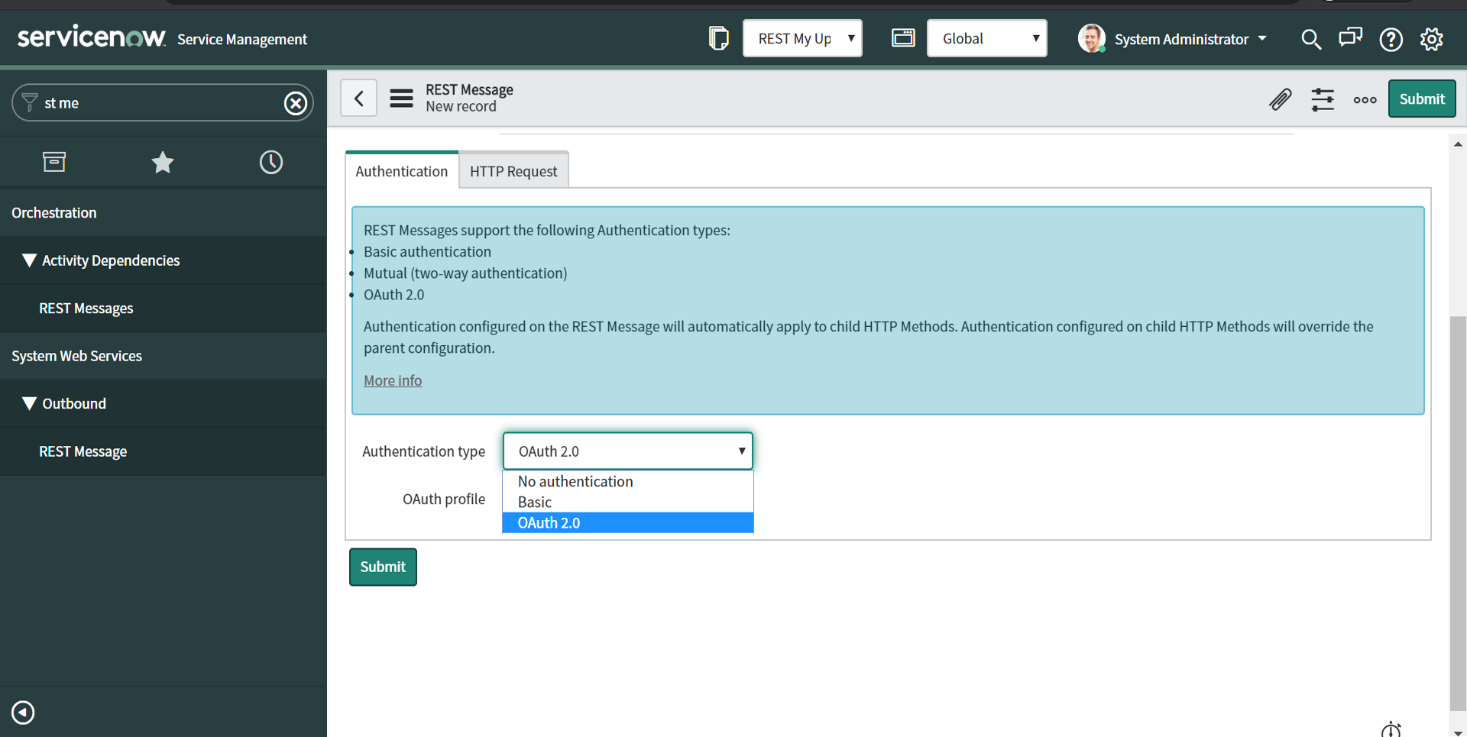
Step 5) Select the ‘OAuth profile’ which got automatically created as a restult of Step 26 in the First article in this series
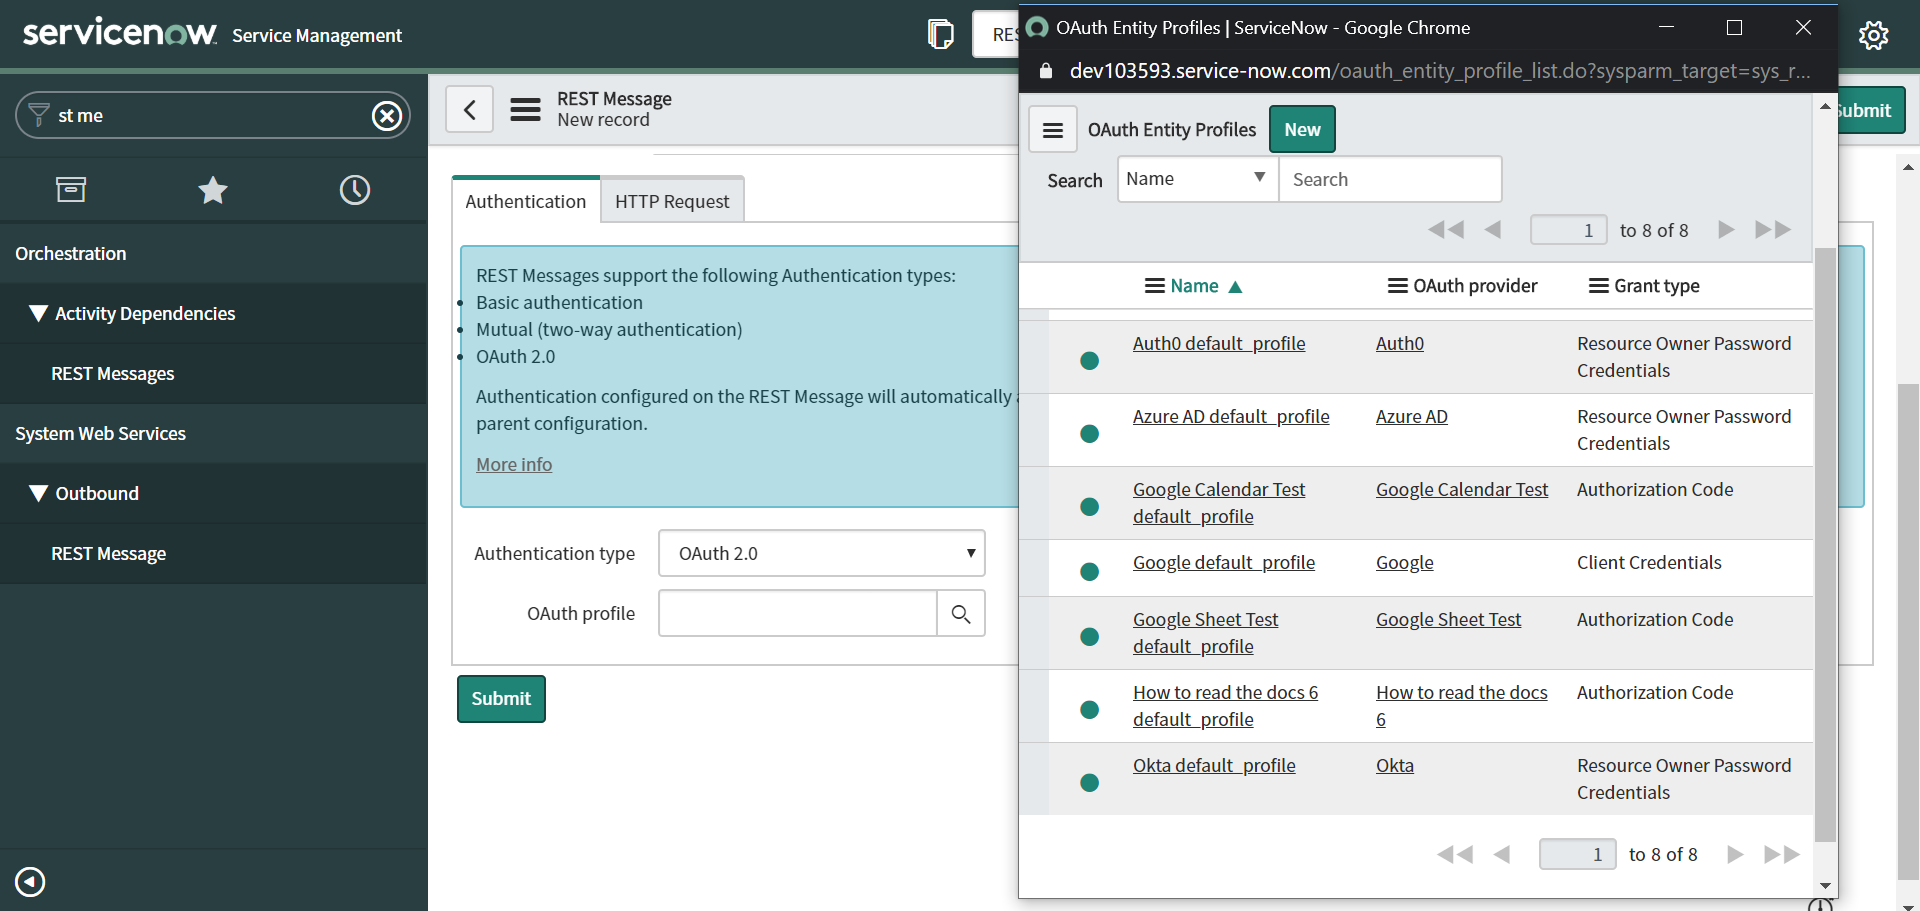
When a new OAuth provider is created, the system automatically generates a default profile for it without any scope
Step 6) Make sure the Accessible from value is selceted as ‘All application ccopes’ and click ‘Submit’
Step 7) Open the record again and from the ‘HTTP Methods’ related list open ‘Default GET’

Step 8) Fill the form with the information provided below :
Name : Create an Event
HTTP Method : POST
Endpoint : https://www.googleapis.com/calendar/v3/calendars/${calendarId}/events
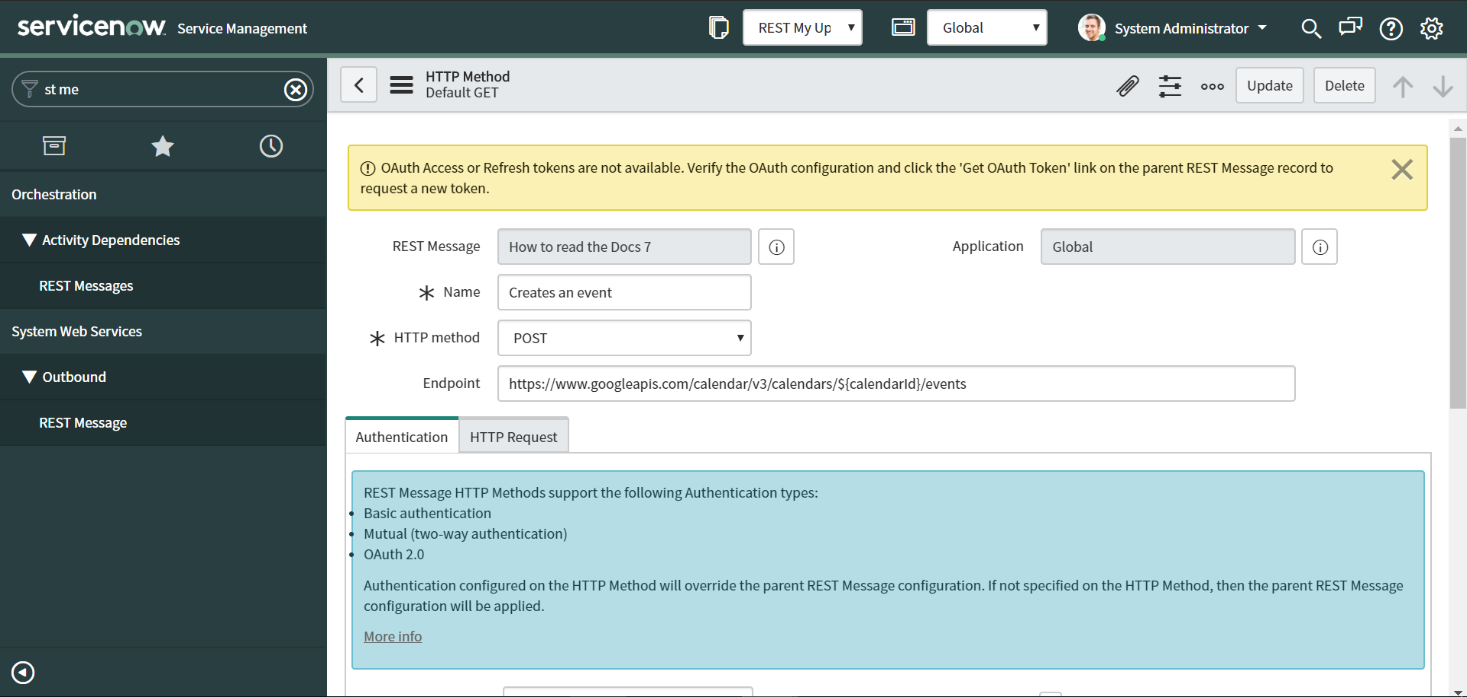
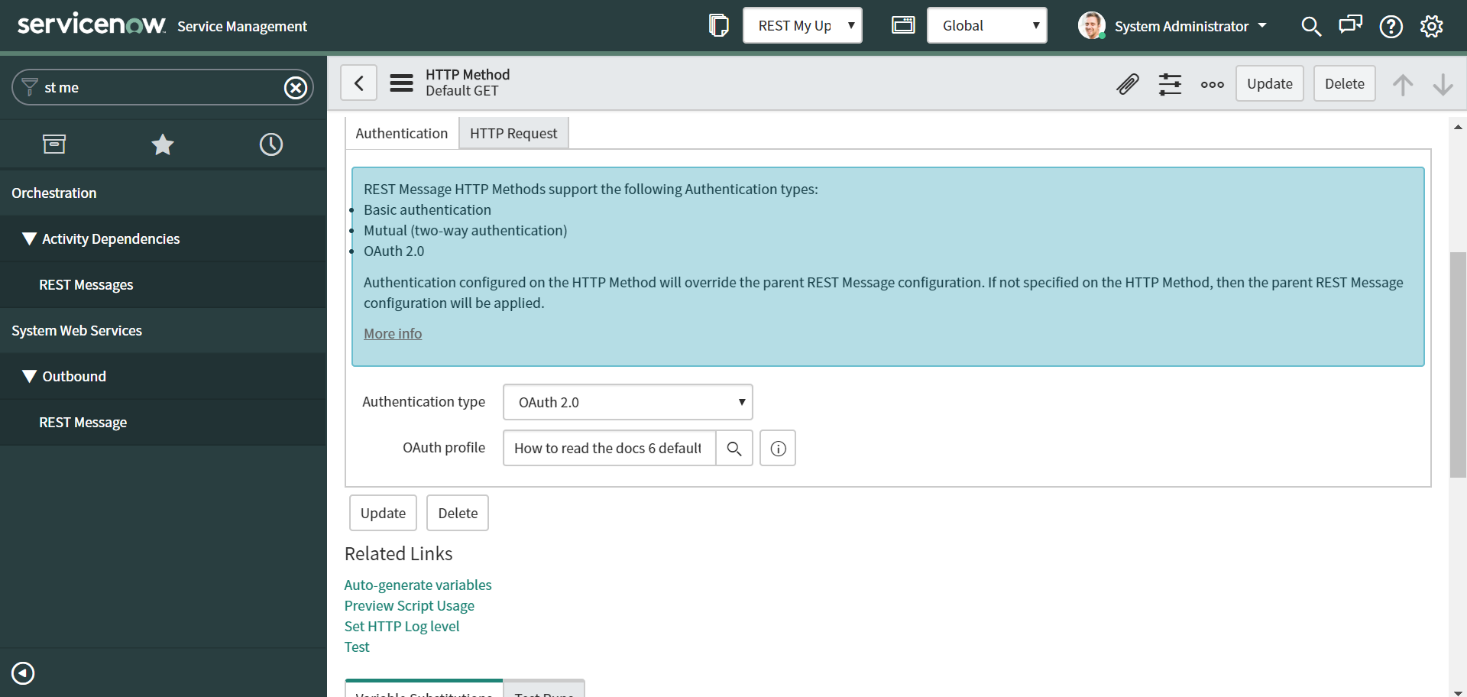
Authentication type : OAuth 2.0
OAuth profile : Same as Parent (REST Message)
Content-Type : application/json
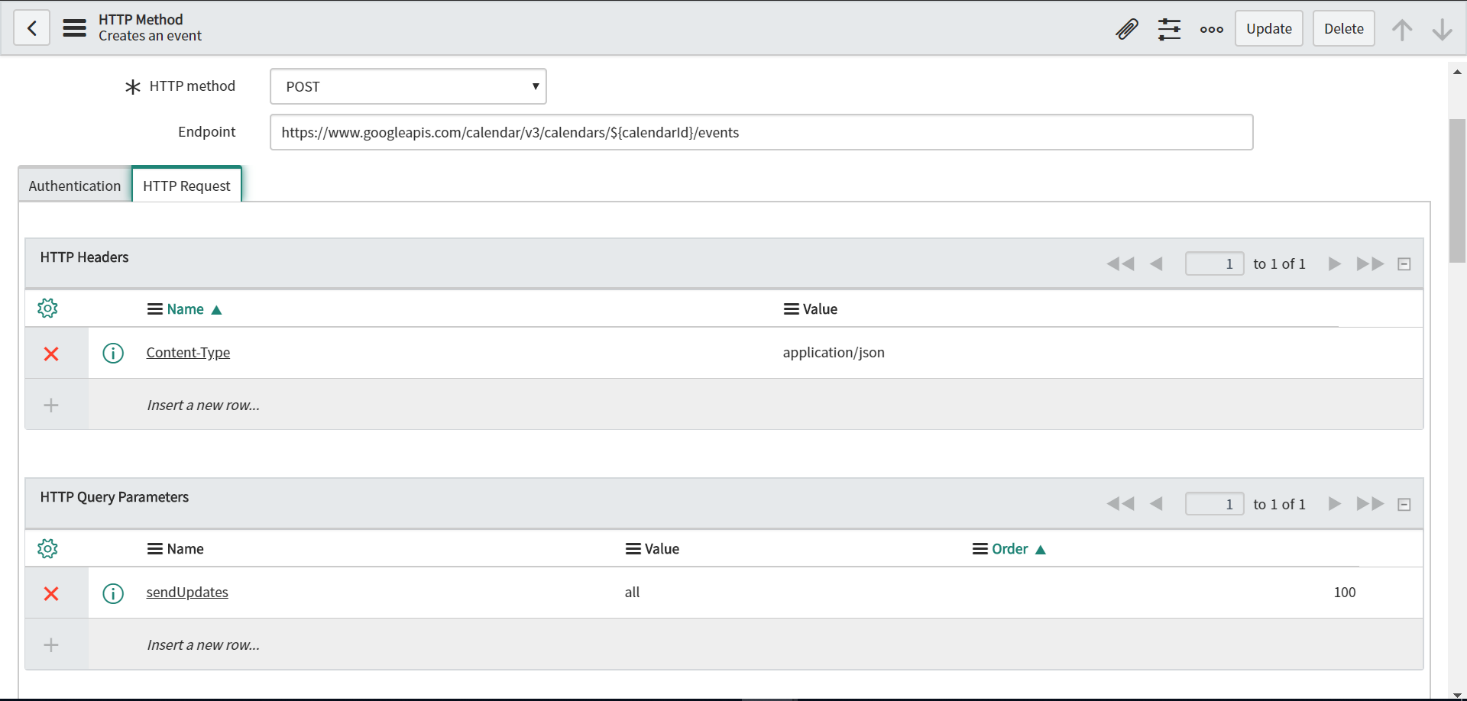
Put the below script in the ‘Content’ field’ and click ‘Update’
{
‘summary’: ‘Google I/O 2015’,
‘location’: ‘Online on Meet’,
‘description’: ‘Testing Google Calendar APIs.’,
‘start’: {
‘dateTime’: ‘2020-07-21T09:00:00-07:00’,
‘timeZone’: ‘America/Los_Angeles’
},
‘end’: {
‘dateTime’: ‘2020-07-21T17:00:00-07:00’,
‘timeZone’: ‘America/Los_Angeles’
},
‘recurrence’: [
‘RRULE:FREQ=DAILY;COUNT=2’
],
‘attendees’: [
{’email’: ‘[email protected]’},
{’email’: ‘[email protected]’}
],
‘reminders’: {
‘useDefault’: false,
‘overrides’: [
{‘method’: ’email’, ‘minutes’: 1440},
{‘method’: ‘popup’, ‘minutes’: 10}
]
}
}
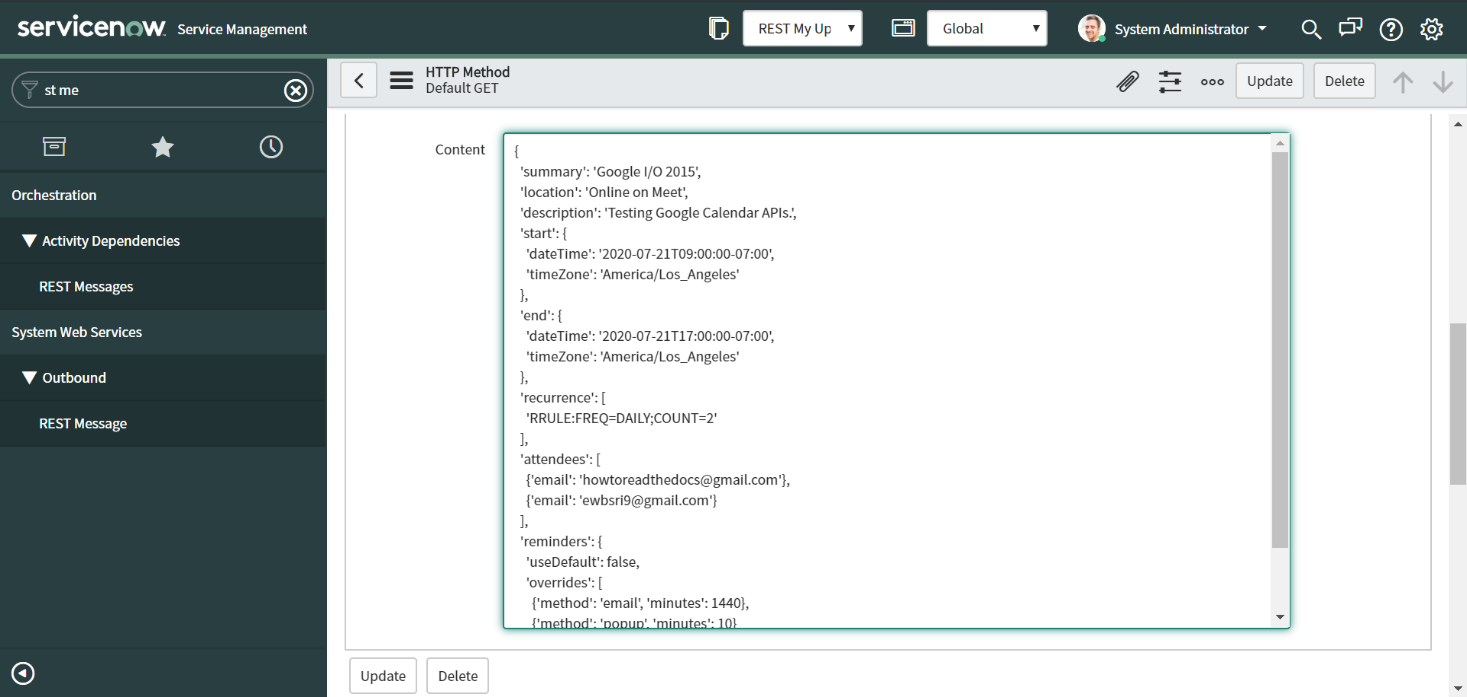
All this information will be available at https://developers.google.com/calendar/v3/reference/events/insert#top_of_page

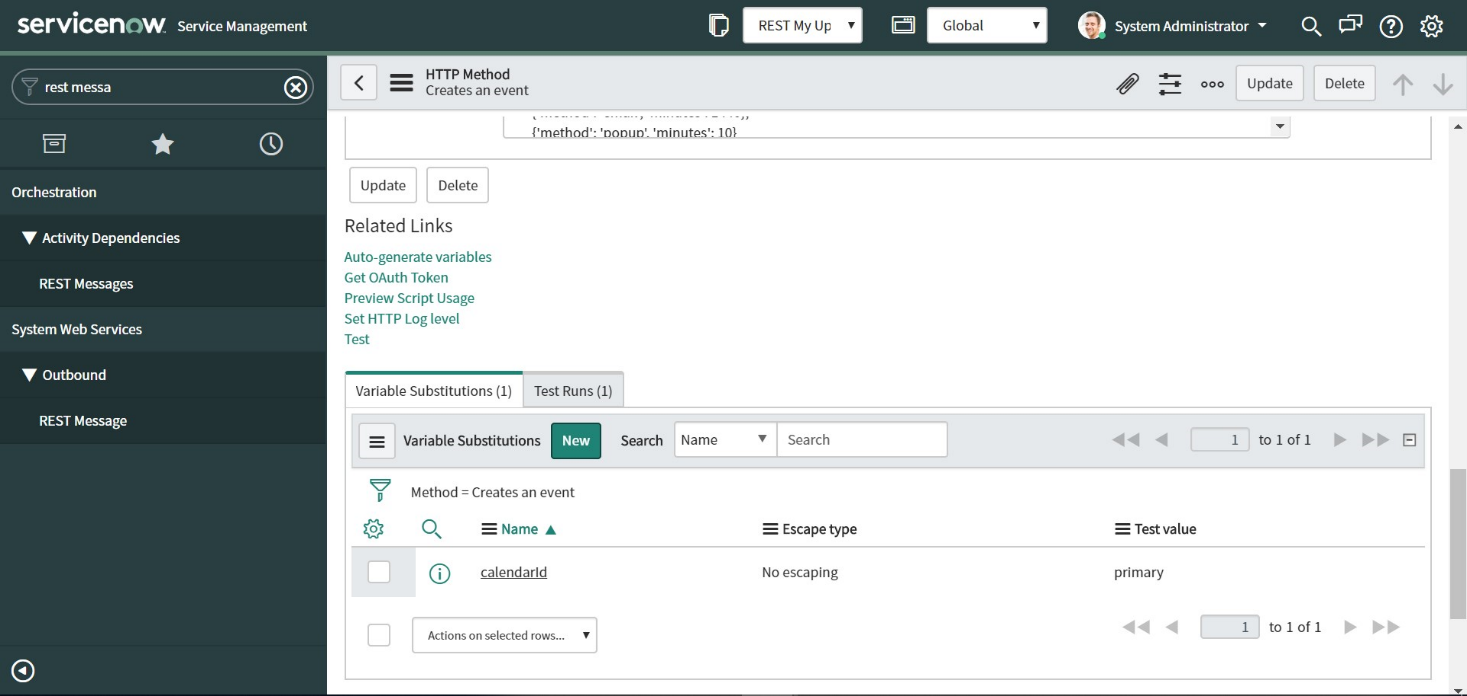
Step 9) Click on the related link ‘Auto-generate variables’

Step 10) In the related list ‘Variable Substitutions’ update the record ‘calendarId’ by setting the value to ‘primary’

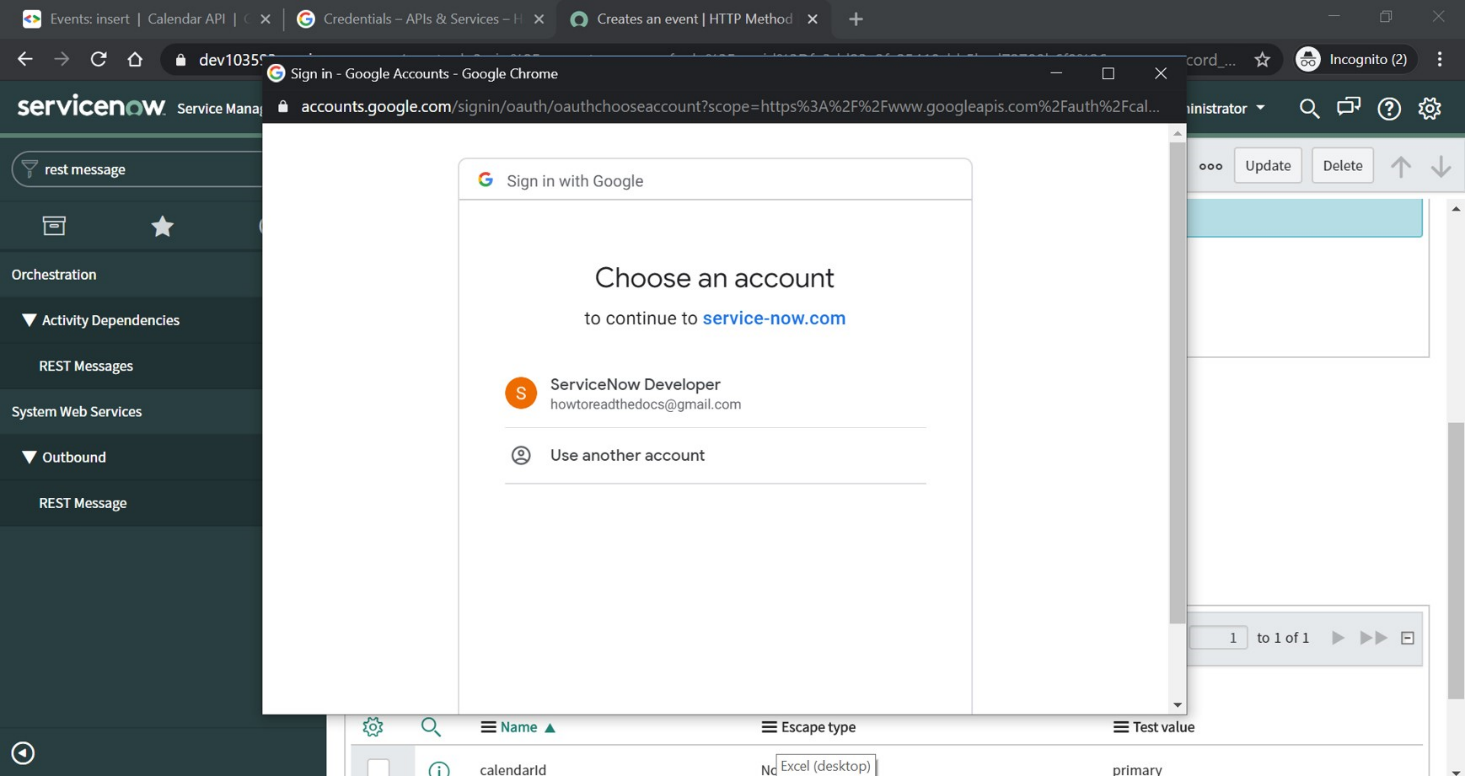
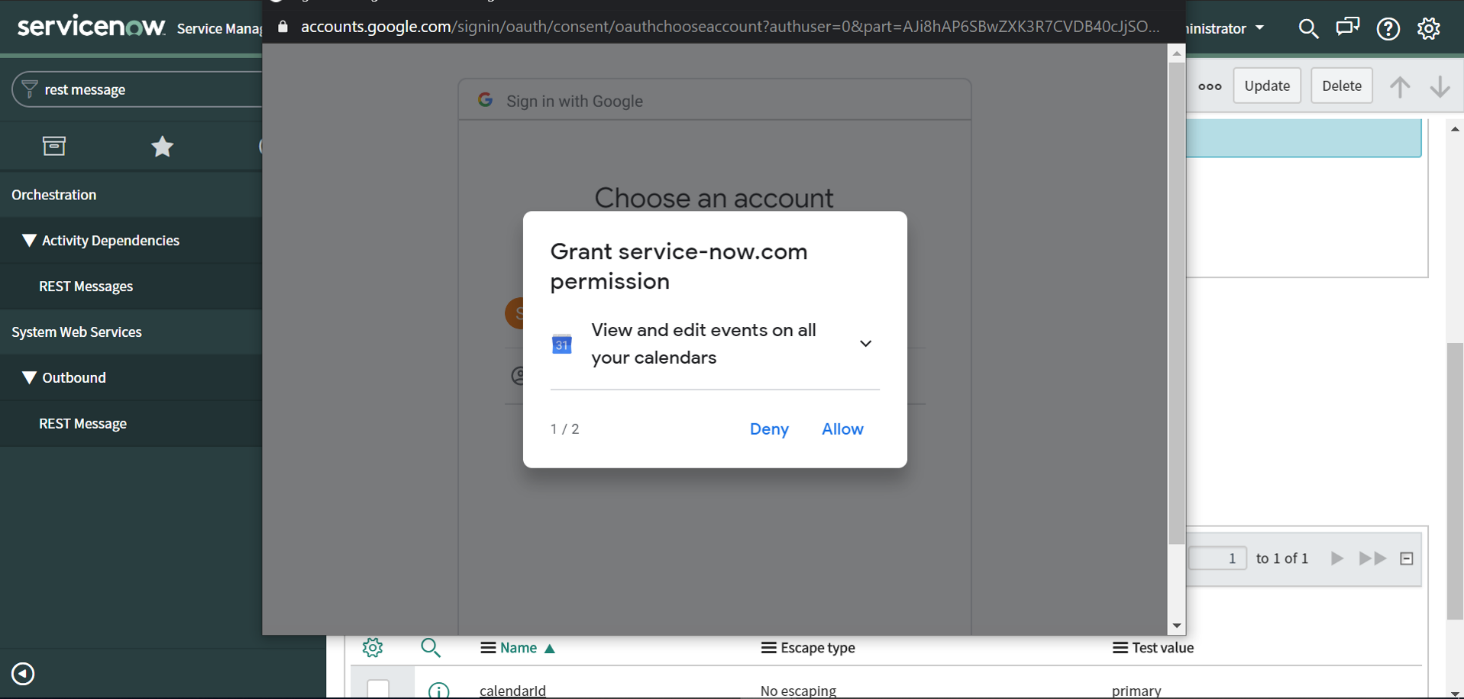
Step 11) Click ‘Get OAuth Token’
Step 12) Select your gmail account
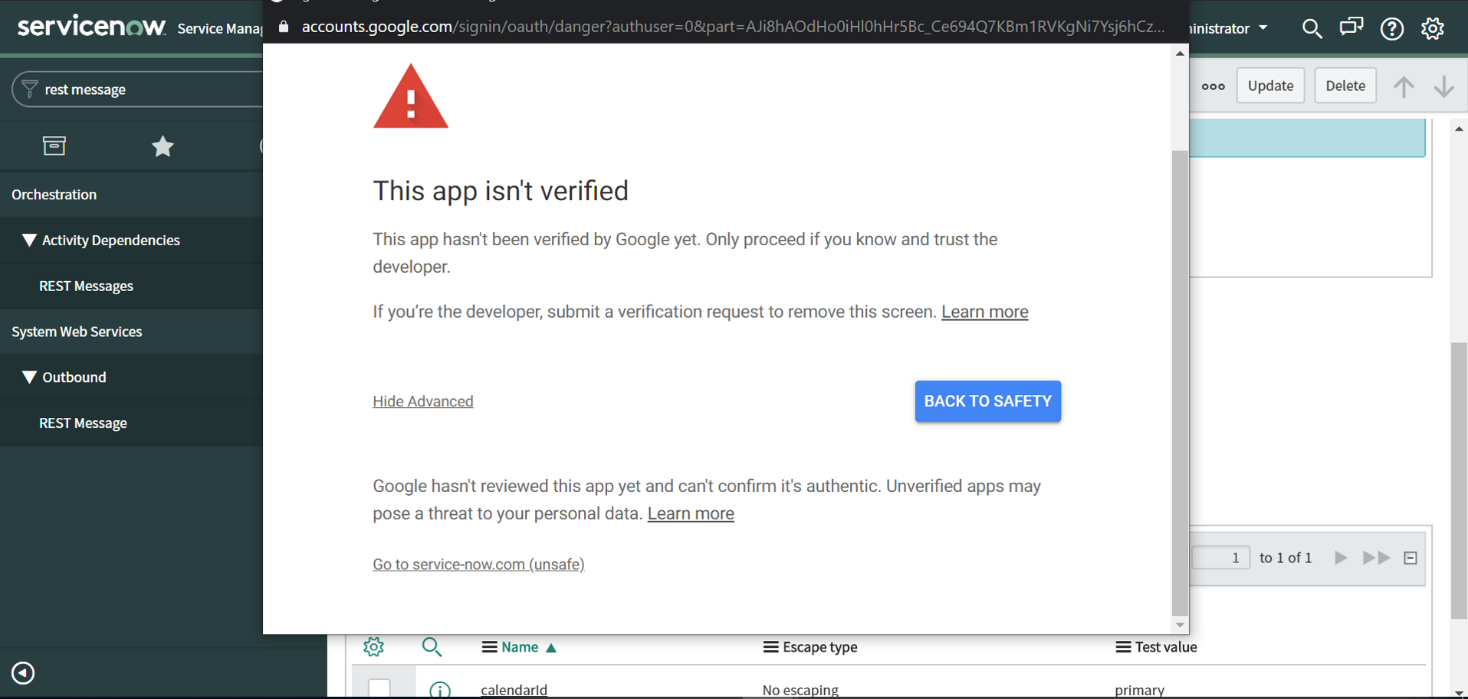
Step 13 ) Click ‘Advanced’
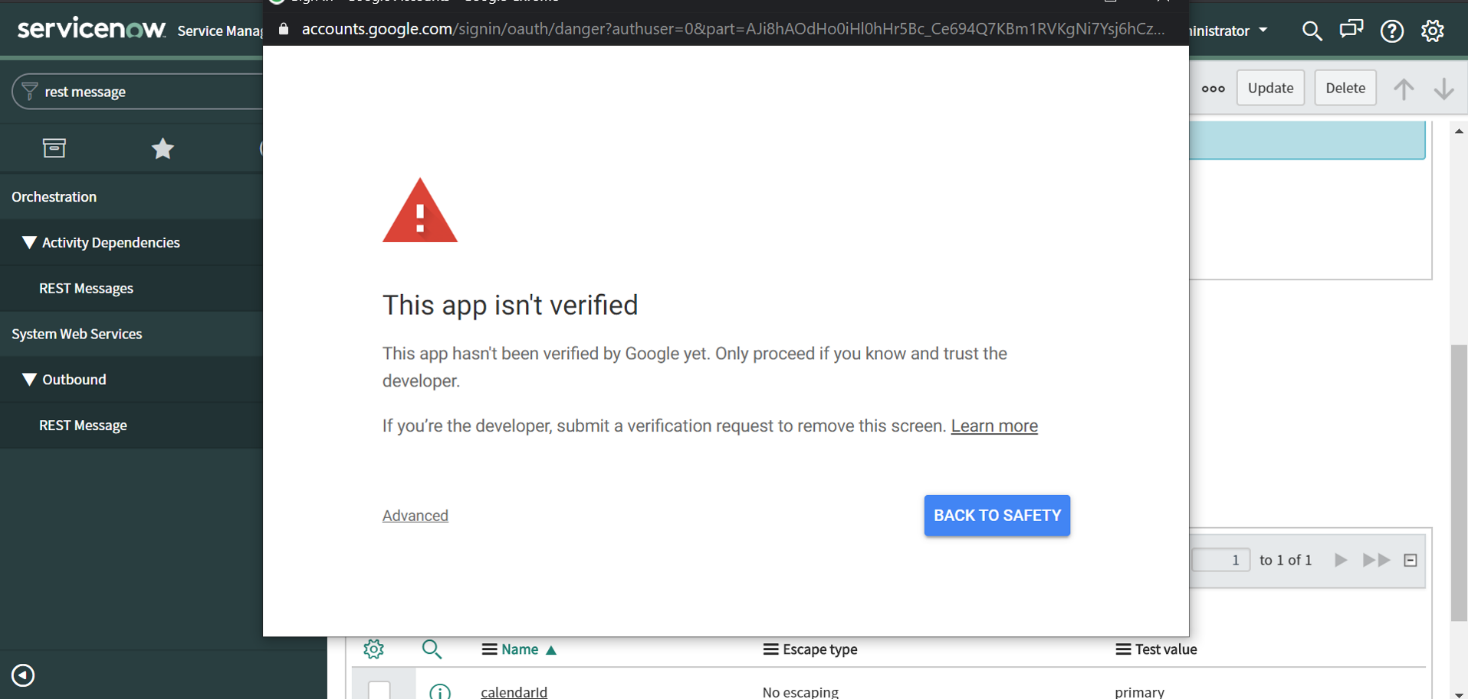
Step 14) Click ‘Go to service-now.com (unsafe)
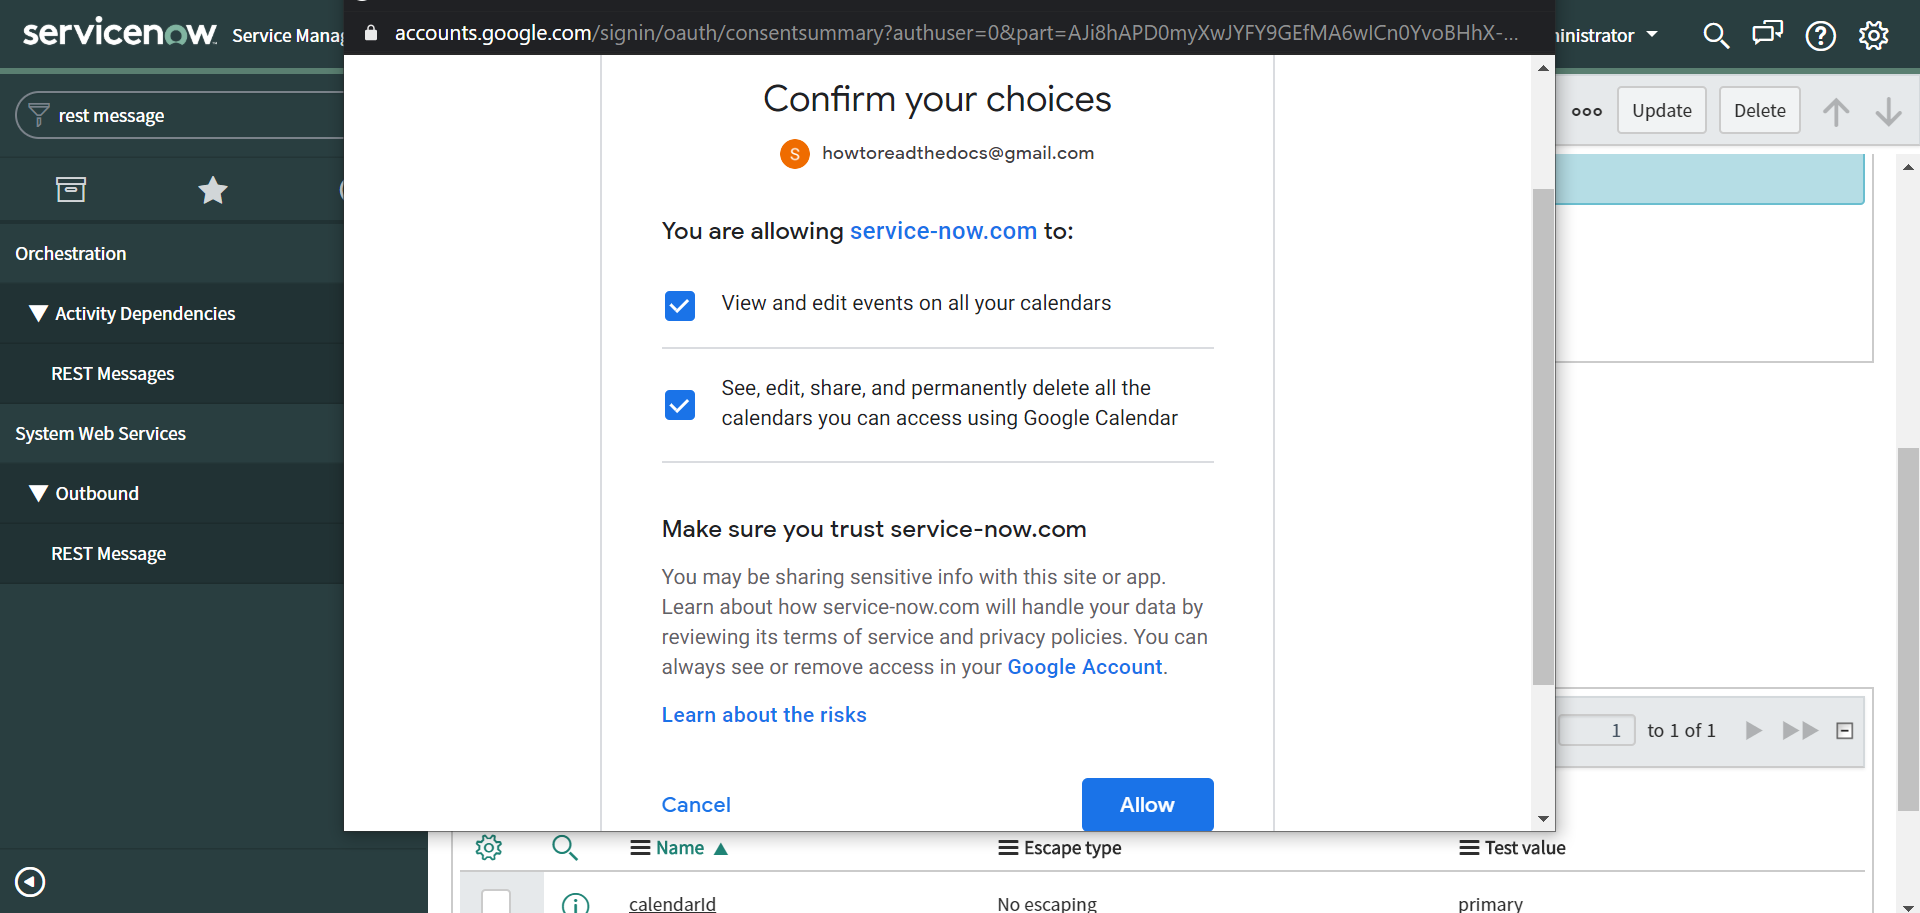
Step 15) Click ‘Allow’ at each of the below steps to grant permissions

Congratulations, So far we have built a rest message to schedule a meeting. In the next part we will integrate it with Virtual Agent.
Thank you,
Vishal Ingle
ServiceNow Certified System Administrator
DxSherpa Technologies Pvt. Ltd.
Maharashtra, IN.